OK, it’s a party over here! I am big time celebrating, because guess what? My closet organizing project is D-O-N-E. And, oh my goodness, I completely love it. I was able to use what I’ve learned in the closet organization class to get a jump start on this. Here was a view inside my closet just two weeks ago.
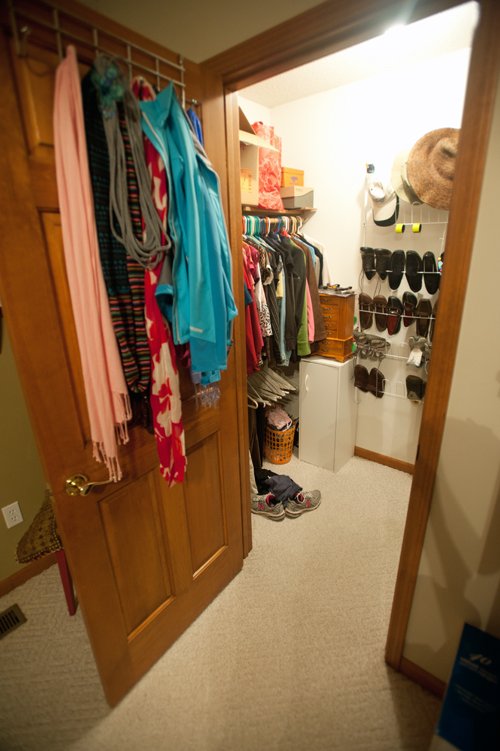
And here is that same view today. Ta-da, right?
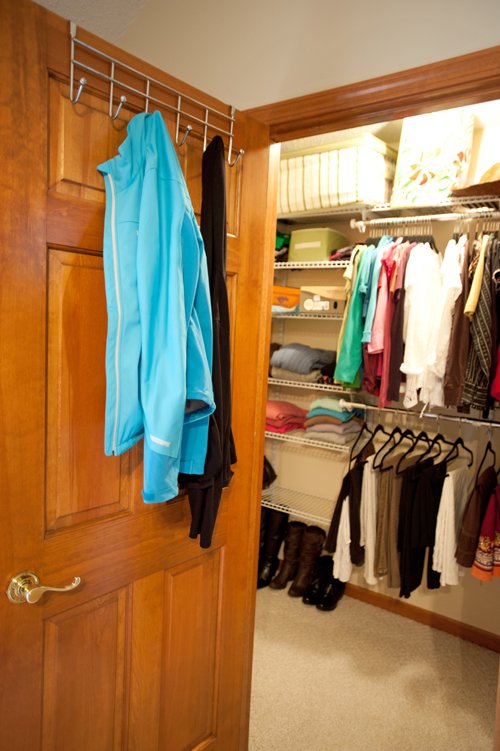
If you’ve been following my progress on the blog, you might recall in my last update that I was trying to decide whether to invest in a closet organizing system or not. You can see here that I did invest in a wire system that we installed ourselves. OK, that’s not entirely true… my amazing, handsome, loving, generous husband installed it himself. For Valentine’s Day this year, he treated me to this closet reorganizing project. Untraditional? Sure. But I think it’s one of the most thoughtful gifts he could have given me, especially because he even did all the labor! Ah, I love being married to a guy who is both romantic AND has some mad DIY skills!
I did grapple a bit as we weighed the options of completing this project with what we had and perhaps adding another shelf or two vs. installing a closet system. I’m a very thrifty girl, and I get a real rush from repurposing and reusing. I knew that along with the Organize Your Closet workshop, I could invest just a smidge of money in some storage solutions and make this closet really work. In the end, I decided on the closet solution because:
- I realized it would be far more efficient to use the one long wall as my main storage wall, rather than using the shorter walls.
- After I visualized how functional it could be, I knew I would always see it as less than it could have been had I not purchased the closet system.
- The timing was right. There was room in our calendar and budget to take this on, and believe me, the stars don’t always align so well for us!
So after a wee bit of shopping around, we chose the Rubbermaid system from Lowe’s, and forged ahead. Here’s my closet once it was completely gutted.
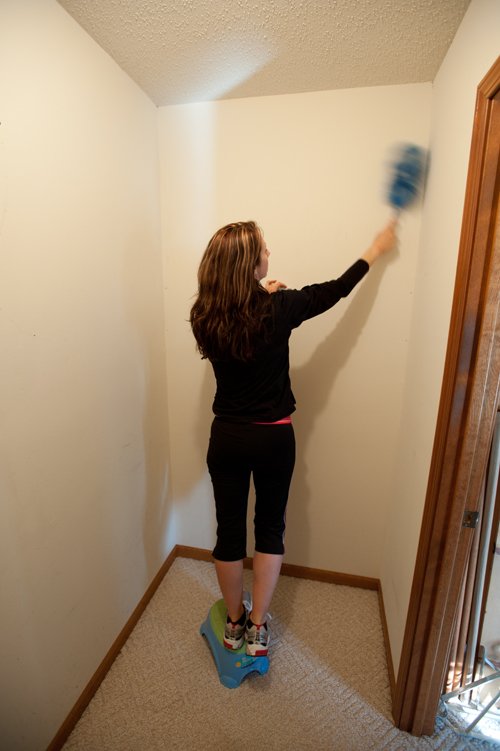
After clearing everything out, we cleaned, patched and painted the walls. (Wow, what a difference even that much makes!) Then it was time to do installation, and even though I only supervised this part, I am amazed at how easy it really was. Next came configuring it all, and like many systems this gives me the flexibility keep changing the racks and shelves to suit my needs. (Love that!) Take a look at it now, why don’t you?
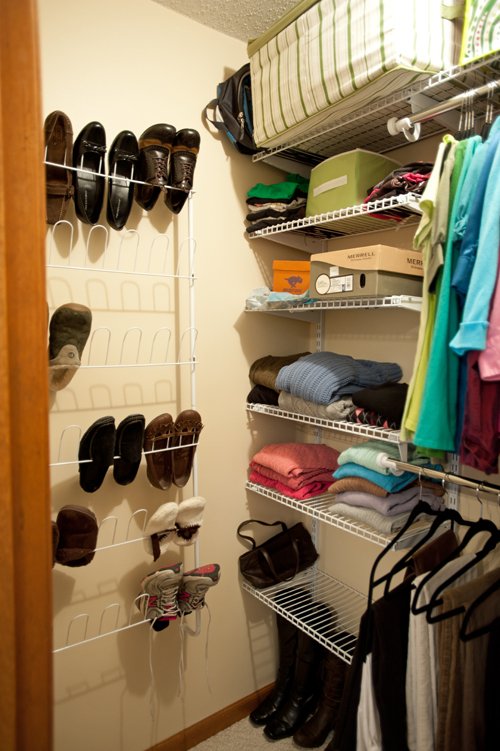
I’d say I’ve made much better use of the space, wouldn’t you? Even the space above the door is being used! (And by the way, my children think I am a complete genius because of this.)
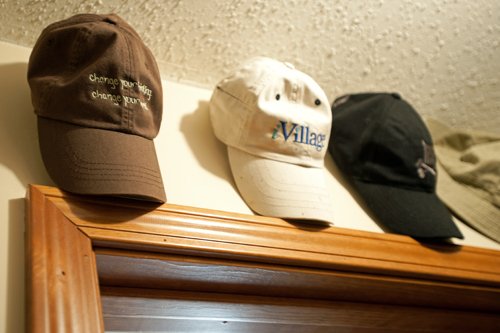
I’ve got a few minor tweeks under way, like setting up my jewelry/accessory station and swapping out a few of the storage solutions. I just may have to show those finishing touches off as well. But other than that, this project is complete, and the result is the most highly organized and functional closet I have ever had. OK, just for fun, let’s take a nice before + after look, shall we?

And just one more before + after…
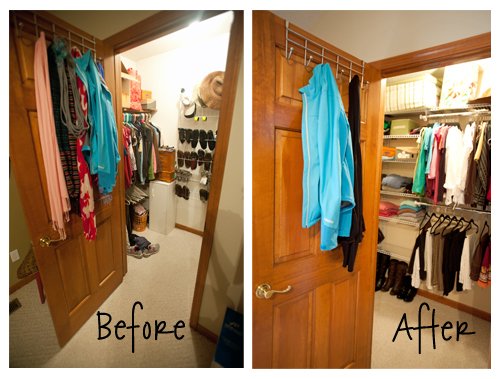
Ah, total closet bliss, my friends. Want a little bliss in your own closet? Give Organize Your Closet a try!
Happy Organizing!


Congrats!! It looks AWESOME!!!!
Looks fabulous! I wanted to know what kind of hooks or things you used for the hats. Thanks!
Thanks, Emily & Tammy! Tammy, I just used regular nails to hang those hats. 🙂
Love using the spaces that folks don’t think about like above the door… I have done the same thing in my foyer closet and continue to do this with my clients.