With the school year just ending for some of you, I thought now would be a great time to do a post about organizing and enjoying kid’s artwork. In this previous post I outlined how I handle kids artwork including my incubator system which is where I let a batch of artwork accumulate until it’s time to decide what will stay and what will go. The incubator is great if you find it impossible to snatch a piece of art out of your child’s hands and say “Aw…that’s so nice. Let’s recycle it!” I know I do…so the incubator is a nice alternative.
So once you’ve chosen your artwork keepers…then what? Here are five ideas.
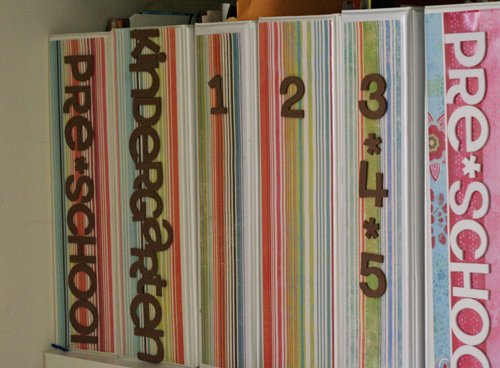
Make an artwork book (or books.)
As you saw in the original post, I use a three-ring binder for my kid’s artwork. And I’m really happy with this solution. It makes the artwork easy for all of us to look at and enjoy. The tricky part, however, is dealing with over-sized artwork. I fold a lot of it and put it right in the binder. But, for art that is too special to fold, the Original Digital Printer Album from Itoya is a terrific solution These books come in a variety of sizes up to an 18” x 24” poster sized album. So even if you have a poster artist in your home, you can still find a home for your child’s artwork collection.

Photograph the art and the artist.
Snapping a photo of your child holding the artwork is a terrific solution for 3-dimensional projects as well as art made with food. (Think fruit loops glued on construction paper and macaroni art.) Once you take your photos, print them out and put them into a scrapbook for you and your child to enjoy. Not only does this approach make it simple to preserve the artwork, but you also get to capture what your child looked like at each stage of his or her art career. (I wish I had done more of this when my kids were younger.)
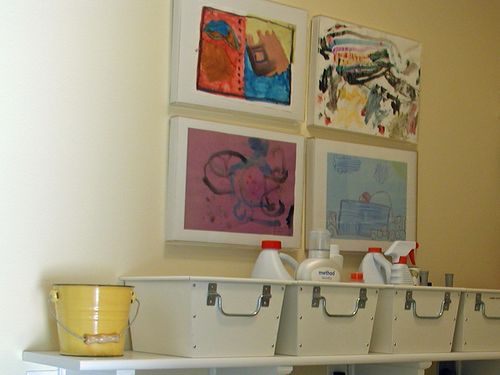
Display favorite artwork in a frame.
Choose a simple, inexpensive frame that makes it easy to change out the artwork when a new favorite comes home. This solution gives you an inexpensive way to infuse a fresh look into your home and it gives your child a place of honor for his newest creations.

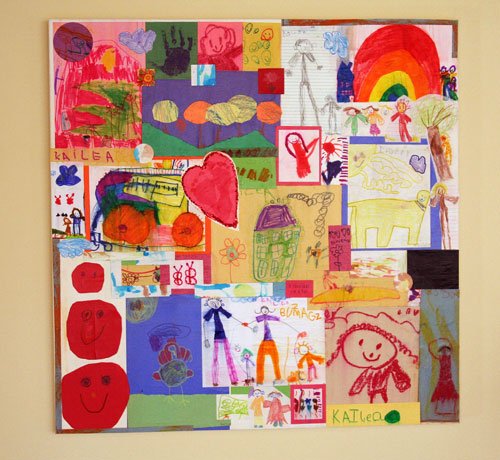
Create a collage.
To create your own artwork collage, start with a whole lotta’ artwork you love, an artist canvas in the size of your choice, scissors, decoupage medium, and foam brushes. Then, channel your inner child, get messy and create a master piece you and your child will both be proud to hang on the wall.

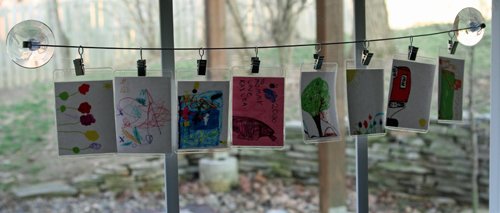
Scan, print, laminate, and enjoy.
I originally shared this idea in The Organized & Inspired Scrapbooker. And I still love it. If you love full- sized kids artwork, your heart will really melt when you create and display miniature art. It’s a simple project that starts with scanning some favorite artwork. Next, print wallet-sized scans using your photo printer. Then, laminate the prints using ID card laminating pouches. From there, create a little booklet of mini artwork using a hole-punch, binder ring, and ribbon, or clip the artwork onto a photo display wire. Viola!

How do you handle your kid’s artwork? I’d love to hear from you.

These are great ideas! I was just thinking the other day what to do with my daughters art work. They are either put on the fridge for a while or they are in a tote that no one can see. I think I am going to go with the binders. Very nice!
Great stuff! One of my neighbors has an innovative way of displaying her kid’s artwork: she created a magnetic sign for her car! The sign, on the door of her car, is a large-size version of child’s art. She must be very proud.
I take pictures of my kids best work, and make it into postcards and notecards! I get to use their pretty artwork, and a picture file is much smaller than the original!
I simply loved your posting and your ideas!
I’ll make sure I share in my own blog and that I make use of them with my 3 boys, here at home! Great job!
Great ideas!! I love the collage art idea! We could do this as a family project!
I am going to include your link on my follow-up blog post regarding kid’s art!! I recently posted an artwork idea here… http://tinyurl.com/3mjjf3w.
I have also been hearing a lot about dynamic frames (www.dynamicframes.com)!
Happy ART!
I have done 2 things with my kids’ artwork. One is to display them on the wall after they bring them home. That is with this link:
http://blessedx3ane.blogspot.com/search/label/artwork
The second thing I did was frame my favorite artwork. That is with this link:
http://blessedx3ane.blogspot.com/2011/06/my-older-2s-artwork.html
I love using the kids’ artwork. It is cheap & looks great on the wall. I plan to do more after we move.
Great ideas! I saw one more on etsy I thought I’d add to the mix:
http://www.etsy.com/shop/TheGirlWhoCouldTwirl
Awesome ideas. I retweeted you. We plan to scan and make a book too 🙂
Cute! I think I’ll try one of these next year. I like the collage! I’ve also seen people make photo books at the end of the year with photos and pictures of projects throughout the year. My display isn’t very fancy, but it works! She loves looking at her projects displayed on her door every day. http://www.getsnazzy.com/2011/09/artwork-display/
The Artkive app is wonderful. Seriously, check it out. I got it for free, hopefully it’s still free. 🙂